Saturday, February 25, 2012

Oval ready for the Summer

Mikko's Oval is ready for Summer fun with new interior and wheels. Looking damn hot. Job well done Mikko!


Big Wheels

I finally got my Airevo 7x17" BRM wheels home. Looking sweheeeeet!!!

What a messy garage...


Spring is here!


Winter was great but the spring is near as someone has taken Mexi-Beetle look alike for a spin today.

Monday, January 23, 2012

More on GT5 Beetle

Too bad the classic wheels cannot be used on the Beetle. Here's mine:

Some Beams

If I have two -70mm beams, and then I add two more -75mm beams, what do I have? -Some Beams! ("quote" Baldrick, The Black Adder)
Shock towers with 30mm raised shock mount.


Saturday, January 21, 2012

More on RC RSR

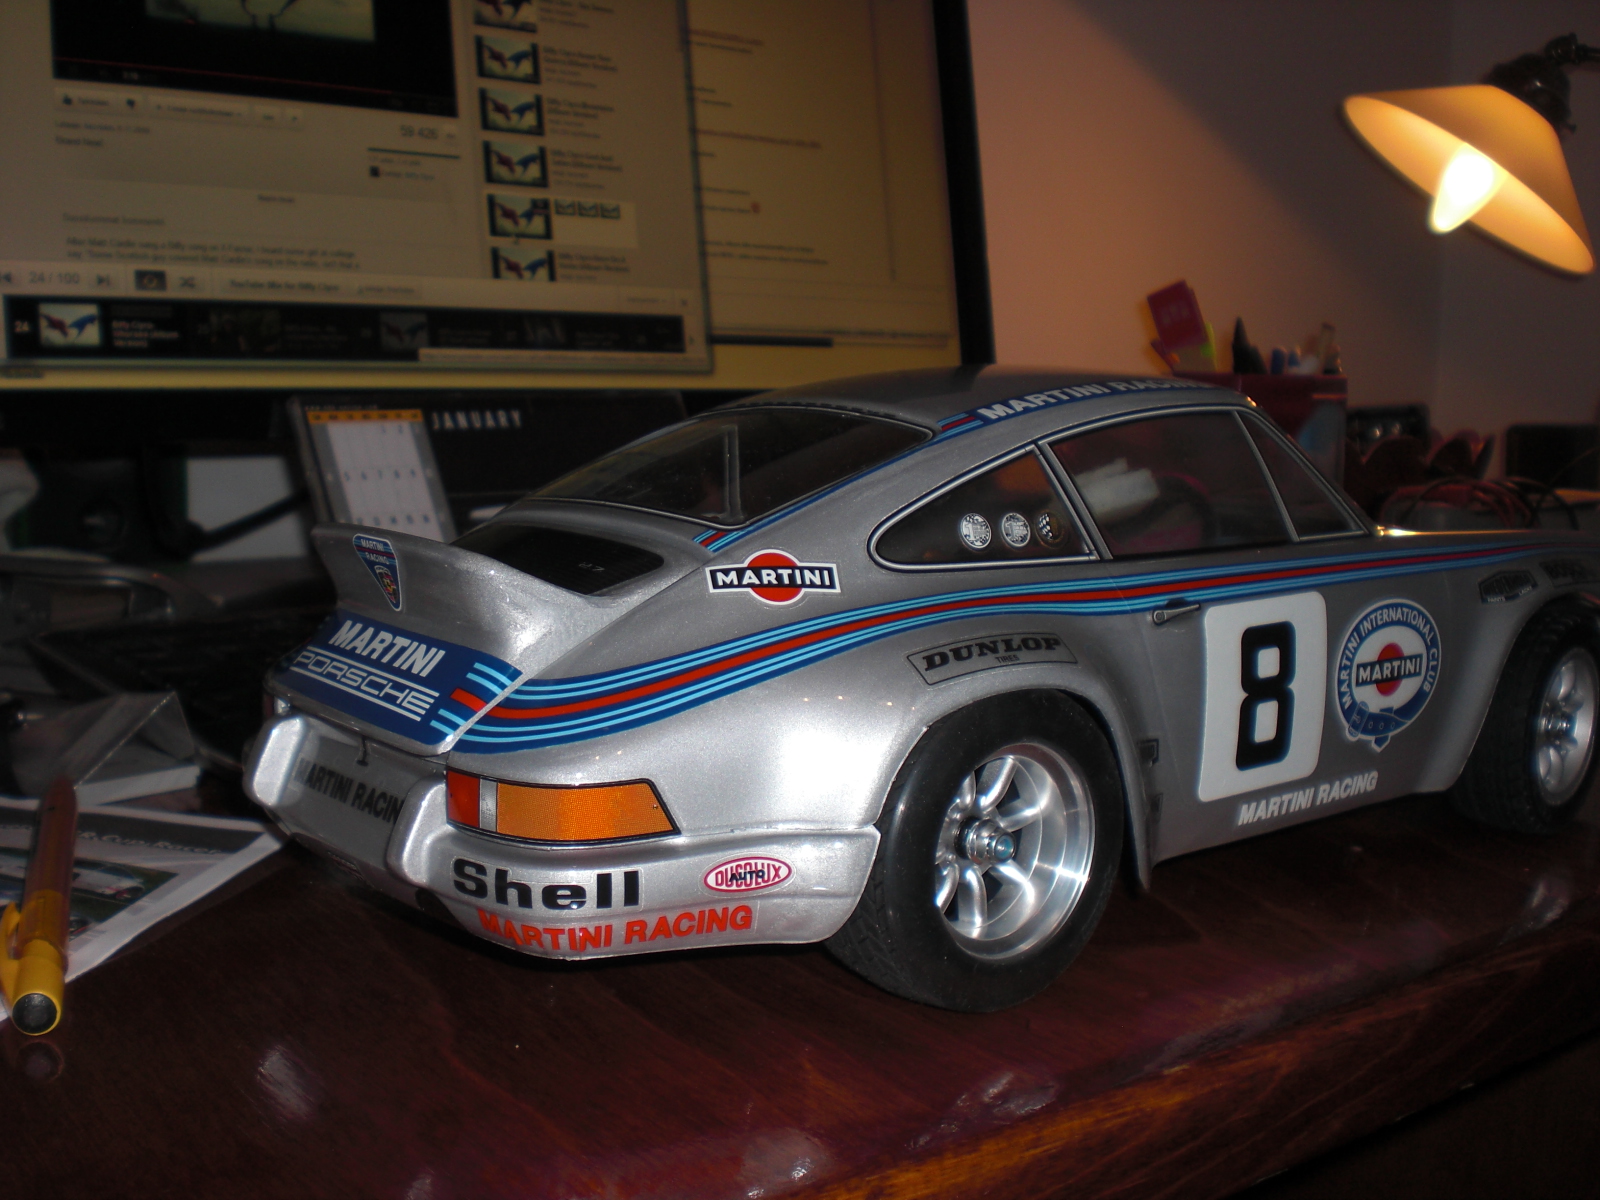
Got The RSR body painted today, it didn't turn out very well but luckily there's plenty of decals to hide the flaws :o)


Wednesday, January 18, 2012

'66 Beetle 1200 in GT5

GT5 racing simulation for PS3 previously had 23 window Samba, Kübelwagen and a Schwimmwagen as premium cars, Split window beetle and a Karmann Ghia as standard cars. Now there's '66 Beetle on premium cars with Car Pack3 for 5,99€. Got to have and Callook it!

Saturday, January 14, 2012

Tamiya 1:10 Beetle into HPI Porsche RSR

Kids had pretty much totalled my Tamiya Beetle body, so it needed some freshen up. But instead of buying a Beetle body, I really loved the idea of getting a HPI Porsche Carrera RSR body to it. Problem was that Beetle has wheelbase of 239mm and Porsche 210mm, so they wouldn't mix straight on. Luckily I found the instructions to shorten the Tamiya beetle wheelbase on the net. So this is how it goes:

First thing is to remove extension block from the chassis to get the wheelbase down to 225mm. This WB has some cool bodies too, like the BMW 2002 Turbo, Datsun 240Z, and Datsun 510 from HPI and Alfa Romeo Giulia Sprint GT from Tamiya.


But this is not enough for the RSR body, shortening the WB from the 225 down to approximately 212mm is handled by tricks to the front suspension. So following the instruction on http://www.rc-mini.net all you need is these extra parts!

  1. A Pair of 15x3mm screws, I ordered these with the RSR body from http://www.wheelspinmodels.co.uk/
  2. Long Suspension screws from Tamiya M-chassis. I bought a set Stainless Steel shafts (see the pic below), used them on rear suspension, and that's how I got extra screws. (Stainless shafts cannot be used for the front end modification).
  3. 2mm spacer rings
  4. Extra front suspension lower arm front pieces (one left, one right handside).
Parts 3 and 4 I got from Tamiya spare part set 50793 C. If you built your Beetle from a kit, you might have these already. But I got mine professionally assembled ready to run kit, so I didn't have them in my parts bin.

This is the only cut needed, sorry for the shitty pics.


After the cut screw in the 15x3mm screw with a HEX driver.
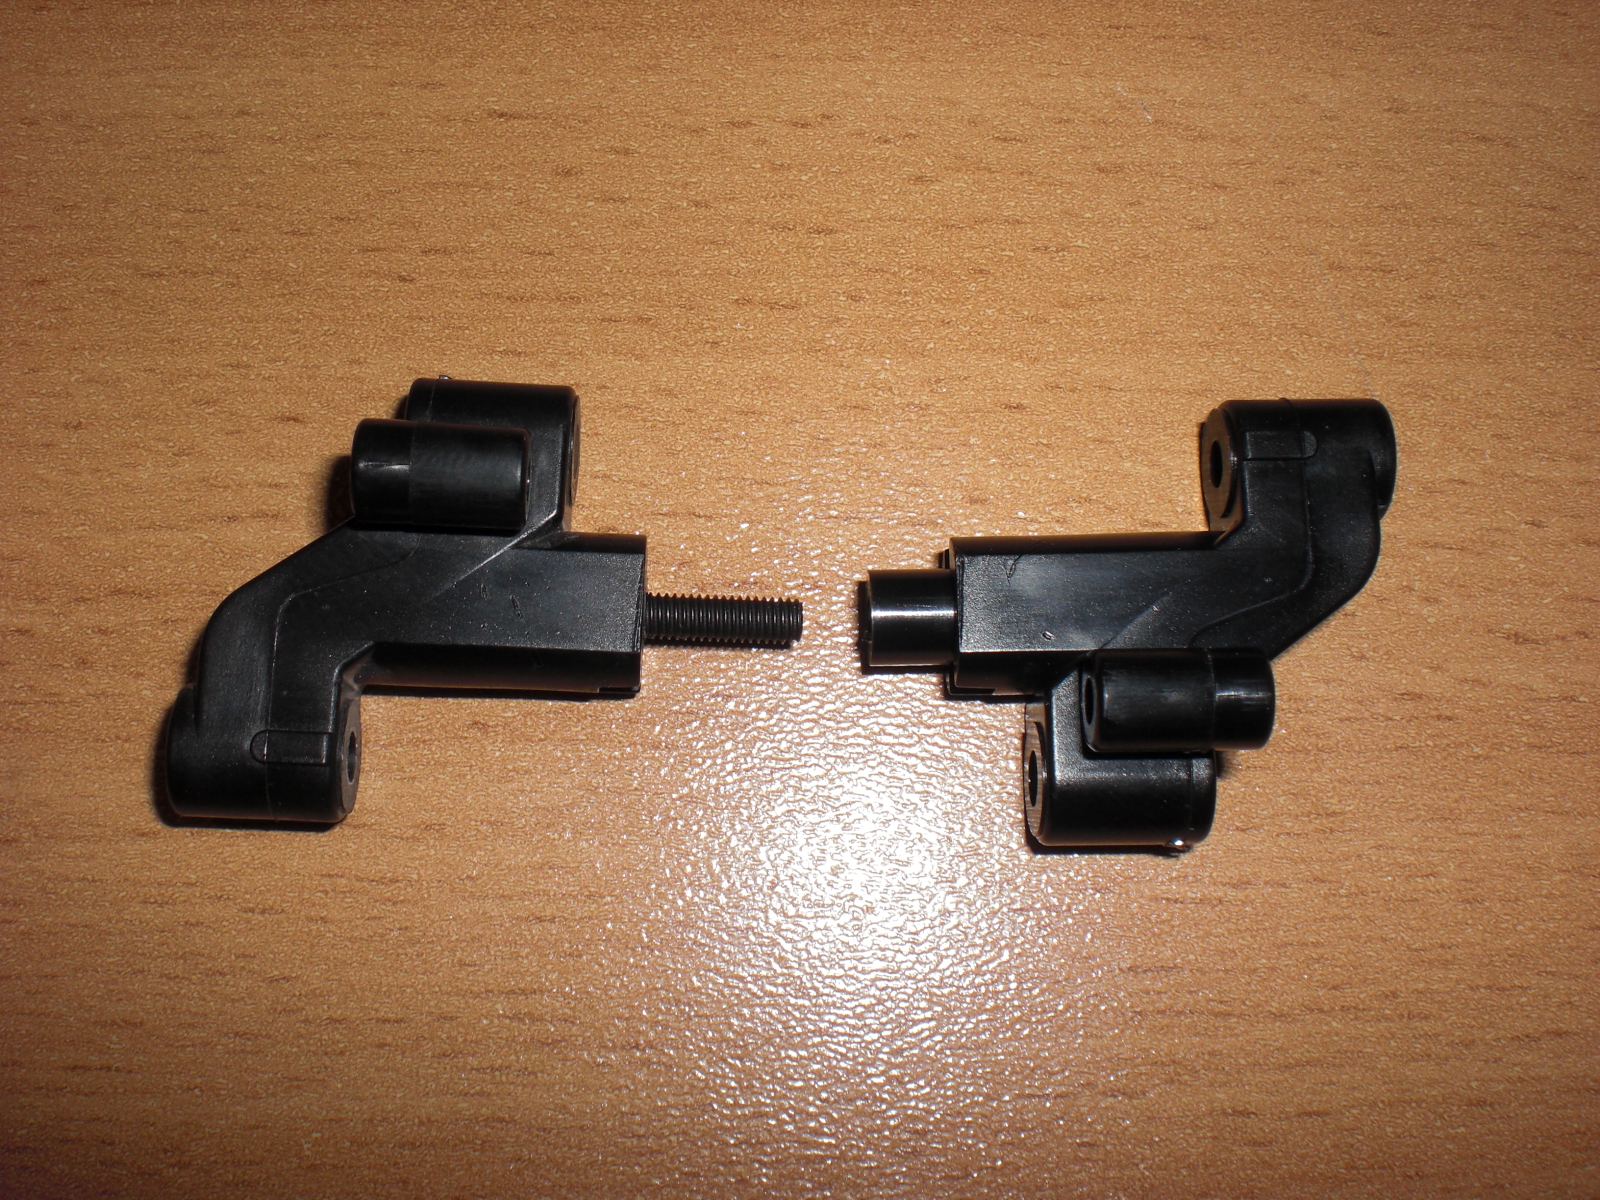
Then join two same side parts as the new lower arm.
Comparison to stock lower arm. Now do the same to other side.
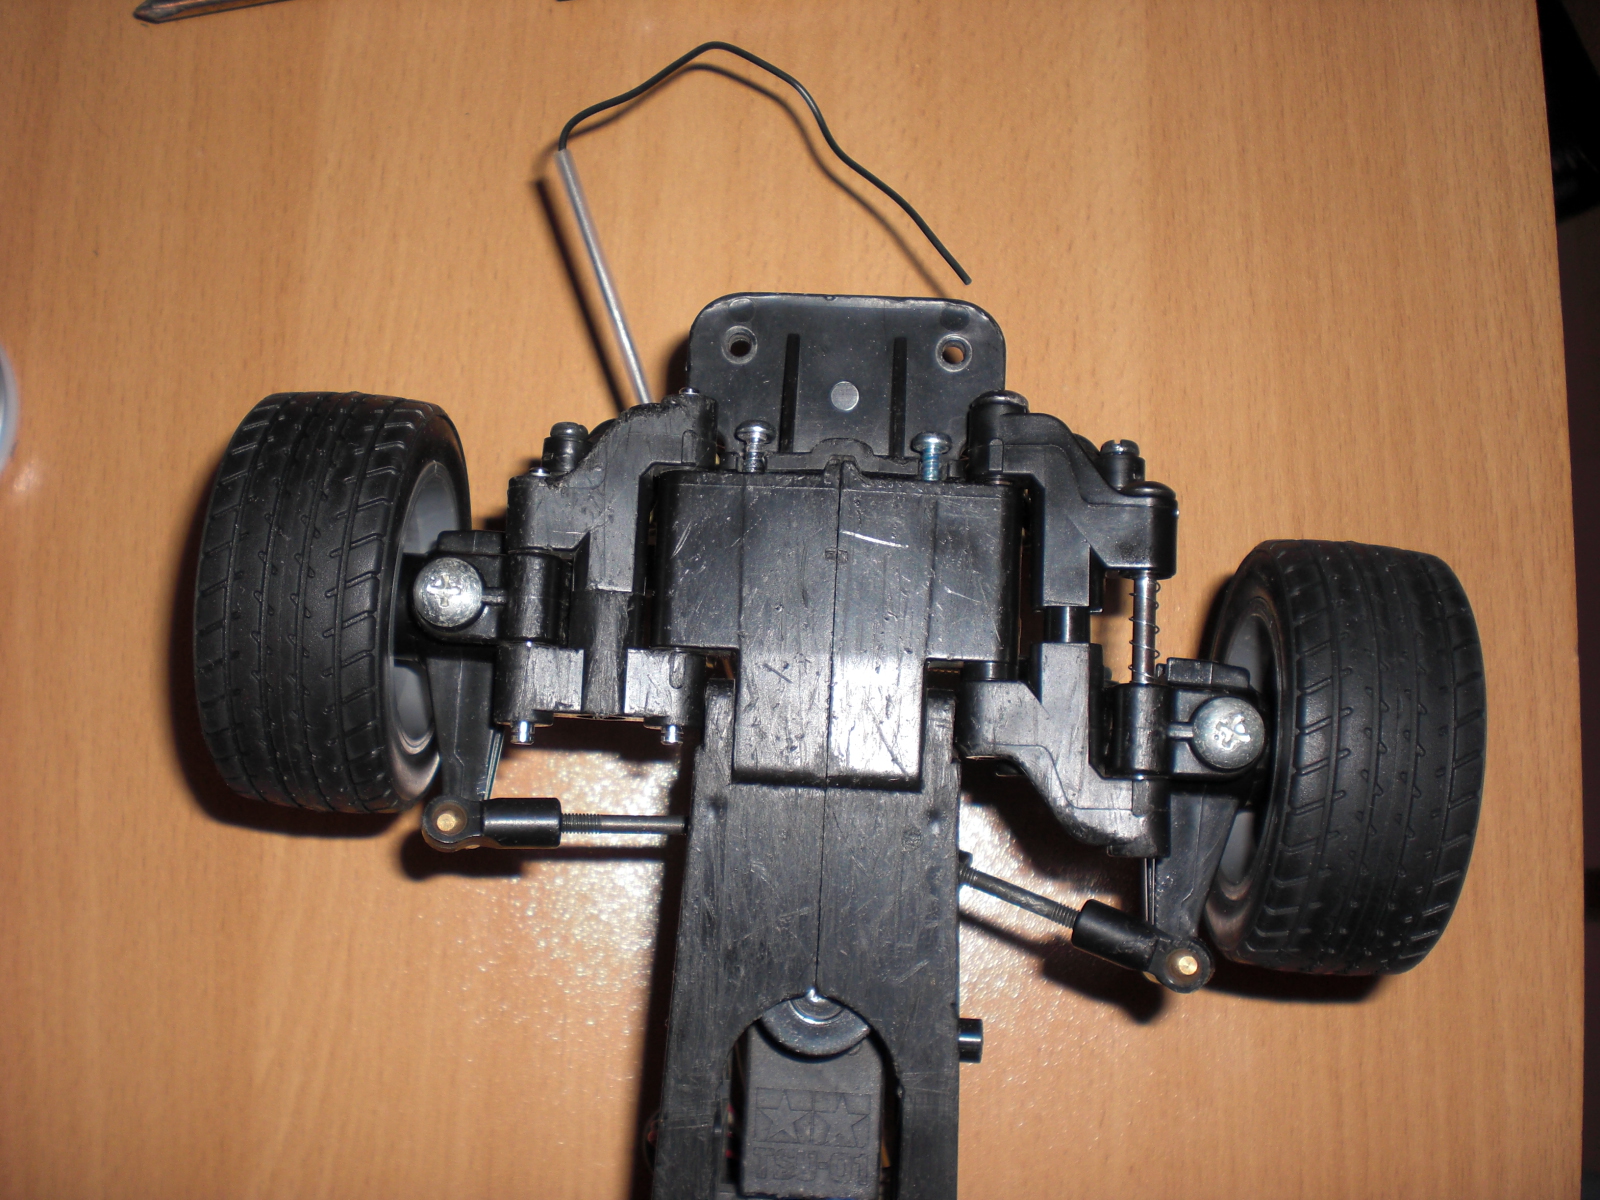
Then you need to flip the upper arm to the other side of it's joint to chassis. Like this:
Then assemble the lower arm by using two longer suspension screws like this:
Note the location of the 2mm plastic spacer on the inner screw. I used a spring from a pen on the outer screw to keep the play out, but that's probably not needed.
Here you can clearly see the change to WB.
As I previously had Tamiya Mini Cooper slics on it, the bottom is sraped as F*ck. Need to meke some protection plate.

Spot on with HPI RSR body!

Which wheels would you choose, Fuchs or the Minilites?


Tuesday, December 27, 2011

Here comes the organ solo!

On Boxing day I made these organ pipes. Or are they Hattifatteners from the Moomin books?

Tuesday, December 13, 2011

Monday, December 12, 2011

356 + 911 = ?

Wild ideas at the Black Porsche garage.

Wednesday, November 30, 2011

TL engine top end rebuild

My past months spare time has been consumed at the garage over hauling the TL's leaking engine. Dropping was pretty straight forward 50 min job by myself, didn't even forgot to detach anything. Well the air bellow fucked up anyhow at dropping, even it was detached...
I got the heads planed by a CNC-macine at my work for a cup of coffee and a doughnut.
I bought new valves from local auto parts shop for 4,5€/exhaust valve and 6,9€ per inlet. Valve guides I needed to order, 3€ each but I didn't have the time or the patience the change them myself, so I dropped them of to do it professionally with valve seat grinding, which cost 120€. So refurbishment of old heads cost about 200€, about half the price new ones would have cost. But atleast they are german made, and fine tuned in Finland ;o)
Setting the end play. At 0,07mm the engine was almost completely jammed, at 0,09-0,10mm it turned fine.
d
A little bit of spay paint make up.
Two issues are totally bitchy about Type3 engine, first is the generator belt assy, second is putting the air bellow back between the engine and the body.